Fitbit Versa 4 FB523 Fitness Tracker Screen Replacement
Hit your watch on a cabinet? Whack it against a stray countertop corner? If it's broken, you can fix it and it's not too difficult. Read on or watch the video to see how!
🚥 Repair Difficulty:
Moderate / 1 hours
Removing the screen requires a heat gun and patience. There are also fragile ribbon cables and PCBs that you'll be working with.
Parts you'll need 🧰
(If the tool cost seems prohibitive, check out our Repair Catalog to see if we offer repair services for your device. If it's not listed, we don't repair it)
- A replacement Screen
- Scroll on the product page to "Frequently bought together" to add all the tools you need as well.
- Or, add just the screen to your cart with the button below.
Tools you'll need 🪛
-
Thin Pry Tool for screen removal.
-
Nylon Spudger Tool (For unlocking ribbon connectors and doing other tasks that require a non conductive tool)
-
Heat Gun (A hairdryer can also do the trick)
-
Repair Kit (All the screwdrivers you'll need)
-
Some 704 RTV
_____________________________________________
1. Remove the Screen
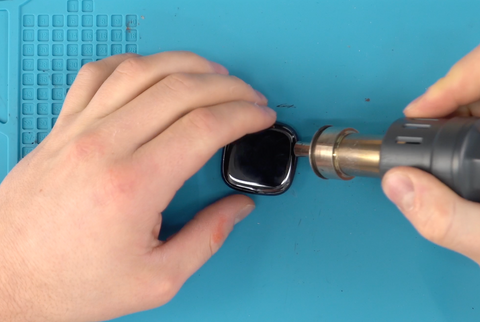
1.1: Heat the screen with a heat gun set to 200°C (392°F) until the watch is warm to the touch. Make sure you move the heat gun around so as to heat the whole screen rather than just one spot.
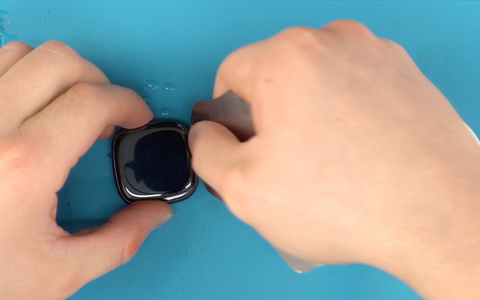
1.2: Dip your thin metal pry tool in some 99% Isopropyl alchohol then carefully slide it between the edge of the screen glass and the metal housing. **Do not insert the pry tool more than a quarter of an inch or so as there are ribbon cables that you can damage.

1.3: Rock the pry tool back and forth the break up the adhesive then dip it in more alcohol and insert it on another side of the watch. On each side, end the rocking back and forth by pushing the pry tool down to apply a bit of upward pressure to the screen. Repeat these steps for all four sides.
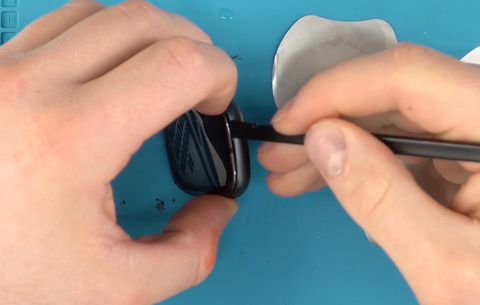
1.4: With the button on the side of the watch facing upwards for orientation, insert your metal pry tool on the right side of the watch (it would be the top if you're wearing the watch) then bend the tool down to pull the screen up.
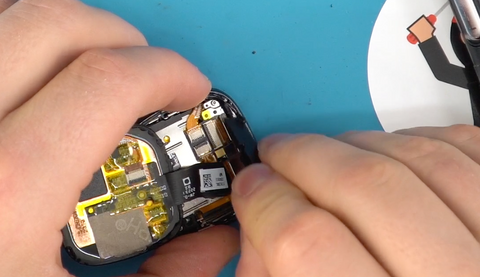
1.5: Once you've created a small gap between the screen and housing stick your fingernail in it to keep the gap while you then insert a slightly thicker pry tool into the gap. Use that pry tool to lift the screen, being very careful of the ribbon cables that connect the screen to the motherboard.
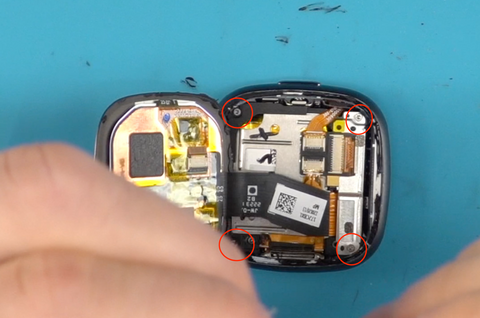
1.6: Remove the four screws, one in each corner then lift up the silver bracket that covers the screen connections.
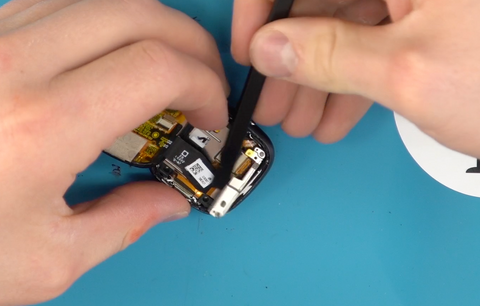
1.7: Disconnect the ribbon cable by gently sliding your pry tool underneath the connector and lifting up. It should pop off of it's connector fairly easily.
2. Install the New Screen
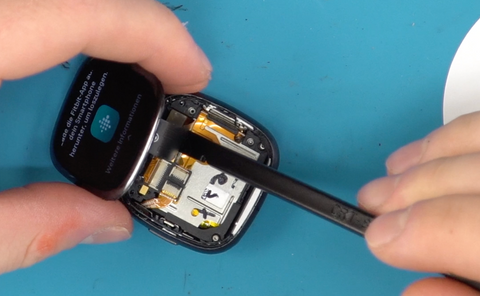
2.1: Connect the screen connector by lining up the plug with the socket and very gently pressing it down into place.

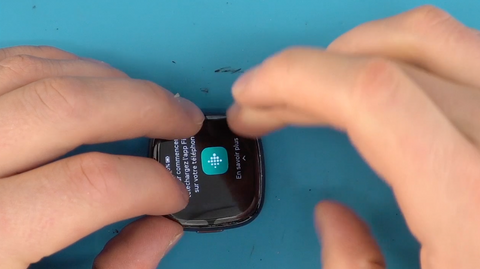
2.2: At this point, your watch should be working. Try turning it on by holdingdown the button for a few seconds. Test the touch and make sure the screen works properly. If it works, install the metal bracket and two screws that hold the screen connector in place.
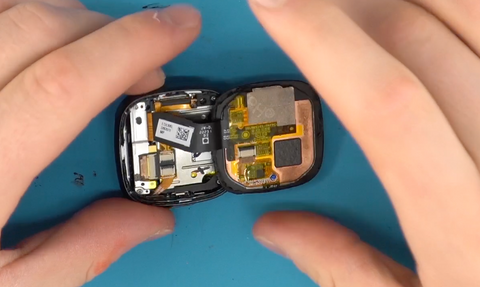
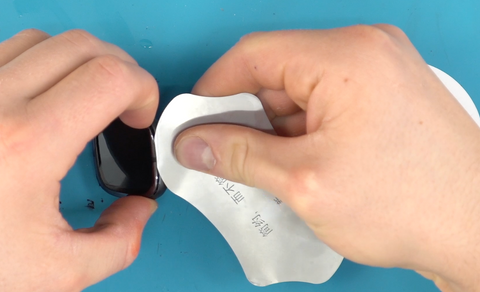
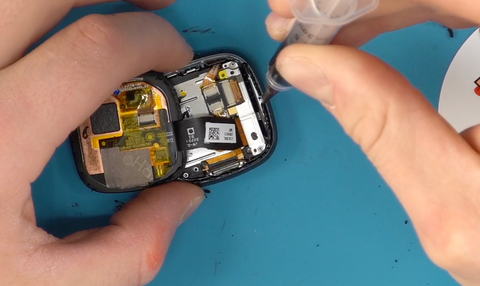
2.3: Remove the old adhesive from the housing and the edge of the screen using your nylon spudger.
2.4: Apply a thin line of glue in a continuous line around the edge of the housing.
2.5: Press the screen down onto the housing and use a Q tip dipped in rubbing alcohol to clean off any excess glue.
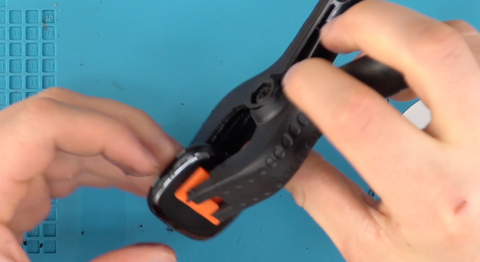
2.6: Put the watch in a clamp or wrap it tightly in a rubber band for 24 hours to let the glue cure.
3. Get back to enjoying your gear 🤓
If you have any questions in regards to this repair, feel free to shoot us an email or text and we will do our best to reply to you as quickly as possible. Please inquire using our Repair Catalog if you are wondering how much a certain repair will cost. If you do not🛒 see your item in our repair catalog, it means that we do not offer repair services for it.
💬 360.362.1722