 >
>
How to Replace PlayStation 4 PS4 Pro Top and Bottom Covers
Are the top or bottom plastic shells broken, cracked, or scuffed? If you want to make your console look new again, this is the guide for you!
If you would prefer to read a written repair guide, check that out below. Or if the tool cost seems prohibitive for a one time repair and you would prefer that we complete this repair for you, check out our Repair Catalog to see if we offer repair services for this device.
Are you a business? We offer wholesale discounts on our repair services if you are sending numerous units in for repair or want to send us continuing batches of devices for repair on a regular basis. Contact our support team for more info Info@JoesGE.com (This email is only for wholesale inquiries, please contact Support@JoesGE.com for other inquiries).
_____________________________________________
Repair Difficulty: Easy
Time to complete: 30 Minutes
The tools and parts that you will need for this repair:
_____________________________________________
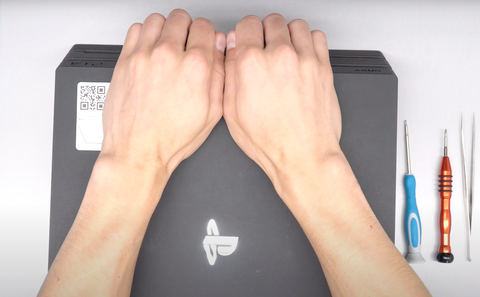
1. Remove the top housing
Lift from the center under the topmost ridge in the front of the console until it pops out of the connectors then, move to the corners and lift until you hear a pop. It might be easier to Watch This Part in the video. The cover should be loose and you can carefully slide it forward and off of the console.

2. Remove the Bottom Shell
There are 3 screws that you will need to remove from the back of the console. One of them is covered by a plastic cover. Remove the cover by pulling it up and away from the back of the console like so.

With the cover removed, you can unscrew the 3 black screws at the back of the console.

to remove the shell, lift up the left side of the case, then the right side, then the center. It would likely be very helpful to tune into the Video for this part as well.


3. Re Install the Shells
Reinstall the bottom plastic piece by setting it on the console a bit towards the front then slide it towards the back of the console while keeping the back part of the plastic elevated from the rest of the console. Once again, it might be helpful to see This Part in the Video.

Once the bottom shell is aligned vertically with the top shell, snap it into place until you hear a click on each corner and center of the back.

Reinstall the 3 black screws into the back of the console.

Reinstall the plastic hard drive slot cover on the back of the console.

Reinstall the top shell similarly to the bottom shell except you slide it forwards from the back of the console. After it is aligned, make sure all of the snap lock connectors are secured around the edge of the shell.

9. Get back to gaming 🕹