 >
>
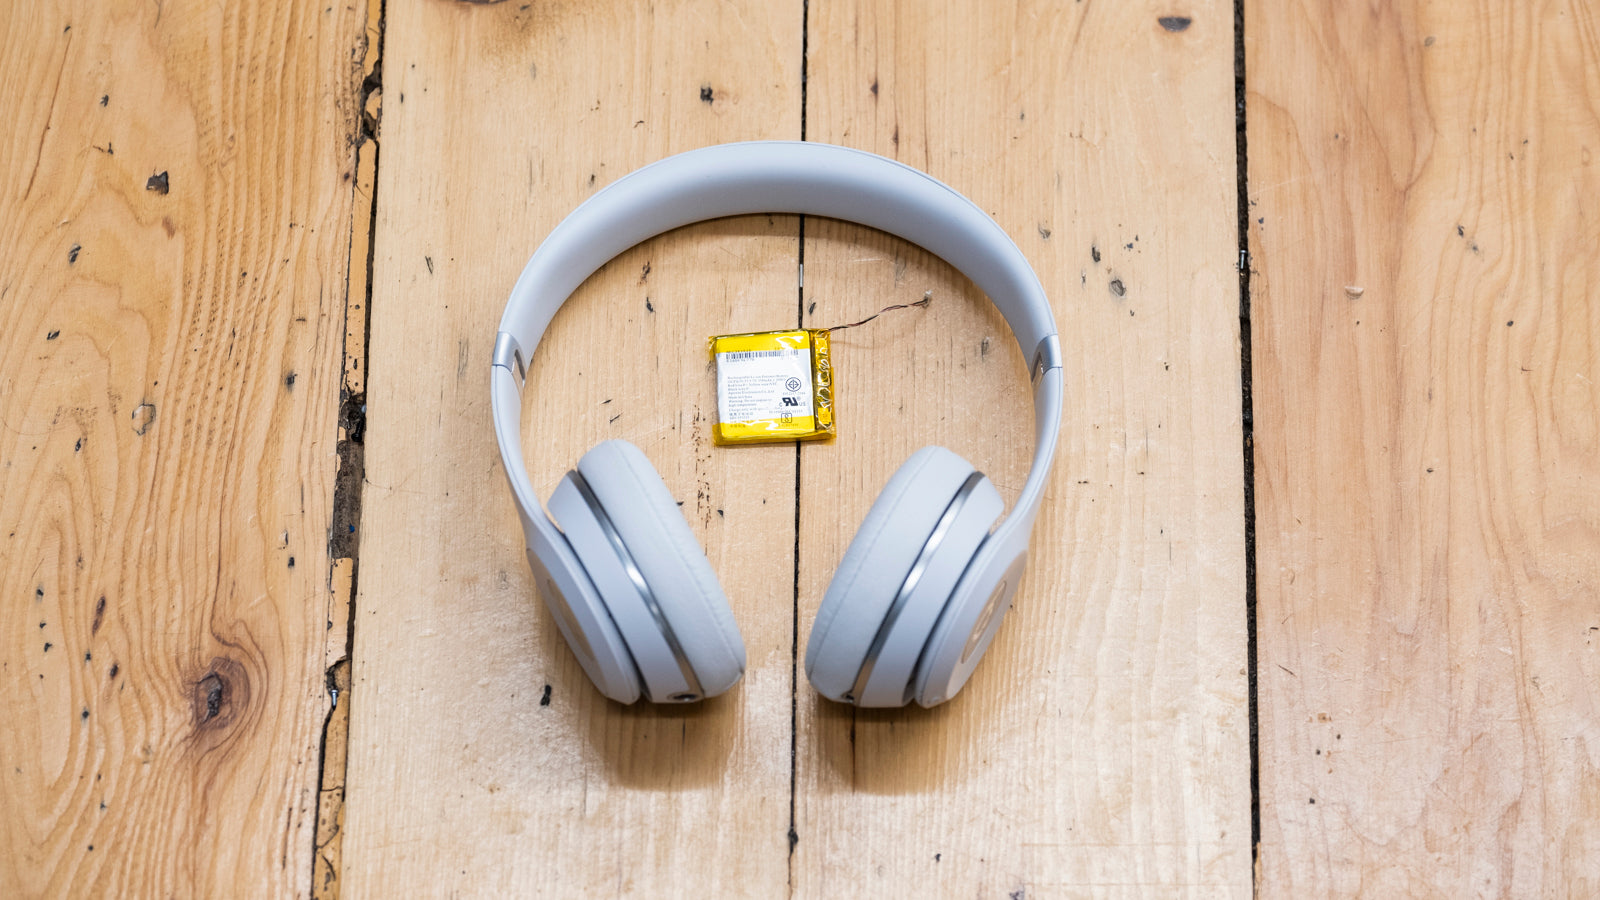
How to Replace the Battery in Beats Solo 2 Wireless Headphones
Have your Beats headphones stopped turning on? Do they show that they are charging but always show a red light? Or do they show that they are fully charged when plugged in but then only show a red light when you try to turn them on? If so, it might be time to install a new battery. These could also be signs that the headphones need to be Reset.
If you would prefer to read a written repair guide, check that out below. Or if the tool cost seems prohibitive for a one time repair and you would prefer that we complete this repair for you, check out our Repair Catalog to see if we offer repair services for this device.
Are you a business? We offer wholesale discounts on our repair services if you are sending numerous units in for repair or want to send us continuing batches of devices for repair on a regular basis. Contact our support team for more info Info@JoesGE.com (This email is only for wholesale inquiries, please contact Support@JoesGE.com for other inquiries).
_____________________________________________
Repair Difficulty: Moderate
Time to complete: 30-60 minutes.
The tools and parts that you will need for this repair:
- A New Replacement Battery
- Strong Pry Tool (a guitar pick or the dull side of a butter knife can also do the trick)
_____________________________________________
1. Open the inside and outside panels
*This repair is the same for the Solo 2 wireless and the Solo 3. The pictures in this article are of a Solo 3 so your Solo 2's will look slightly different.
Insert your pry tool in the small gap between the inside and outside panels on the side of the round part of the panels. Gently pry up all around the round part of the panels to unclip them from each other. The battery is in the right side of the headphones.

With the bottom round part of the panels separated, you can now place your thumb between the two panels to keep them separated from each other, then, continue to pry them apart all the way up to the hinge. Be careful when removing the outside panel as there are small wires attached to the bottom of it that you don't want to rip :)


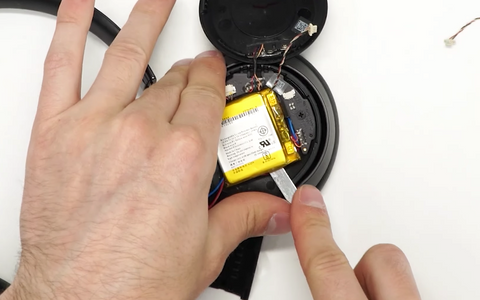
2. Remove the old battery
Unfold the wire that connects the battery to the power board then give it a tug close to the plug that is connected to the board. It should come unplugged fairly easily. Just be careful to not tug it upwards and away from the board as the plug is connected parallel to the board.

Push your pry tool underneath the battery and pry it up and away from the inside panel that it is taped to. This will take some force.

3. Install the new battery
Plug the new battery into the mainboard. Make sure that the red wire is facing out and away from the headphones. Line it up by holding the wires near the plug, then gently push it in using your pry tool or fingernail.


Push the battery into its place, making sure that the circuit board on the battery is facing the plug.

Fold the battery wires down neatly into the gap between the battery and circuit board.

4. Reassemble the panels
Place the metal hinge extension into the outside panel so that it can freely slide up and down. There is a slot for the metal hinge extension in the outside panel.


Place the inside panel onto the hinge extension and outside panel near the hinge and make sure it is aligned properly then snap it into place on one side.


***Check to make sure that the wires are not going to interfere with the movement of the hinge extension and that they are entirely inside of the housing.
Snap the other side of the inside and outside panels together then check to make sure that the extension mechanism can click freely into its different positions.


Snap the rest of the panels together by applying pressure.

5. Get back to jamming out 🎶