 >
>

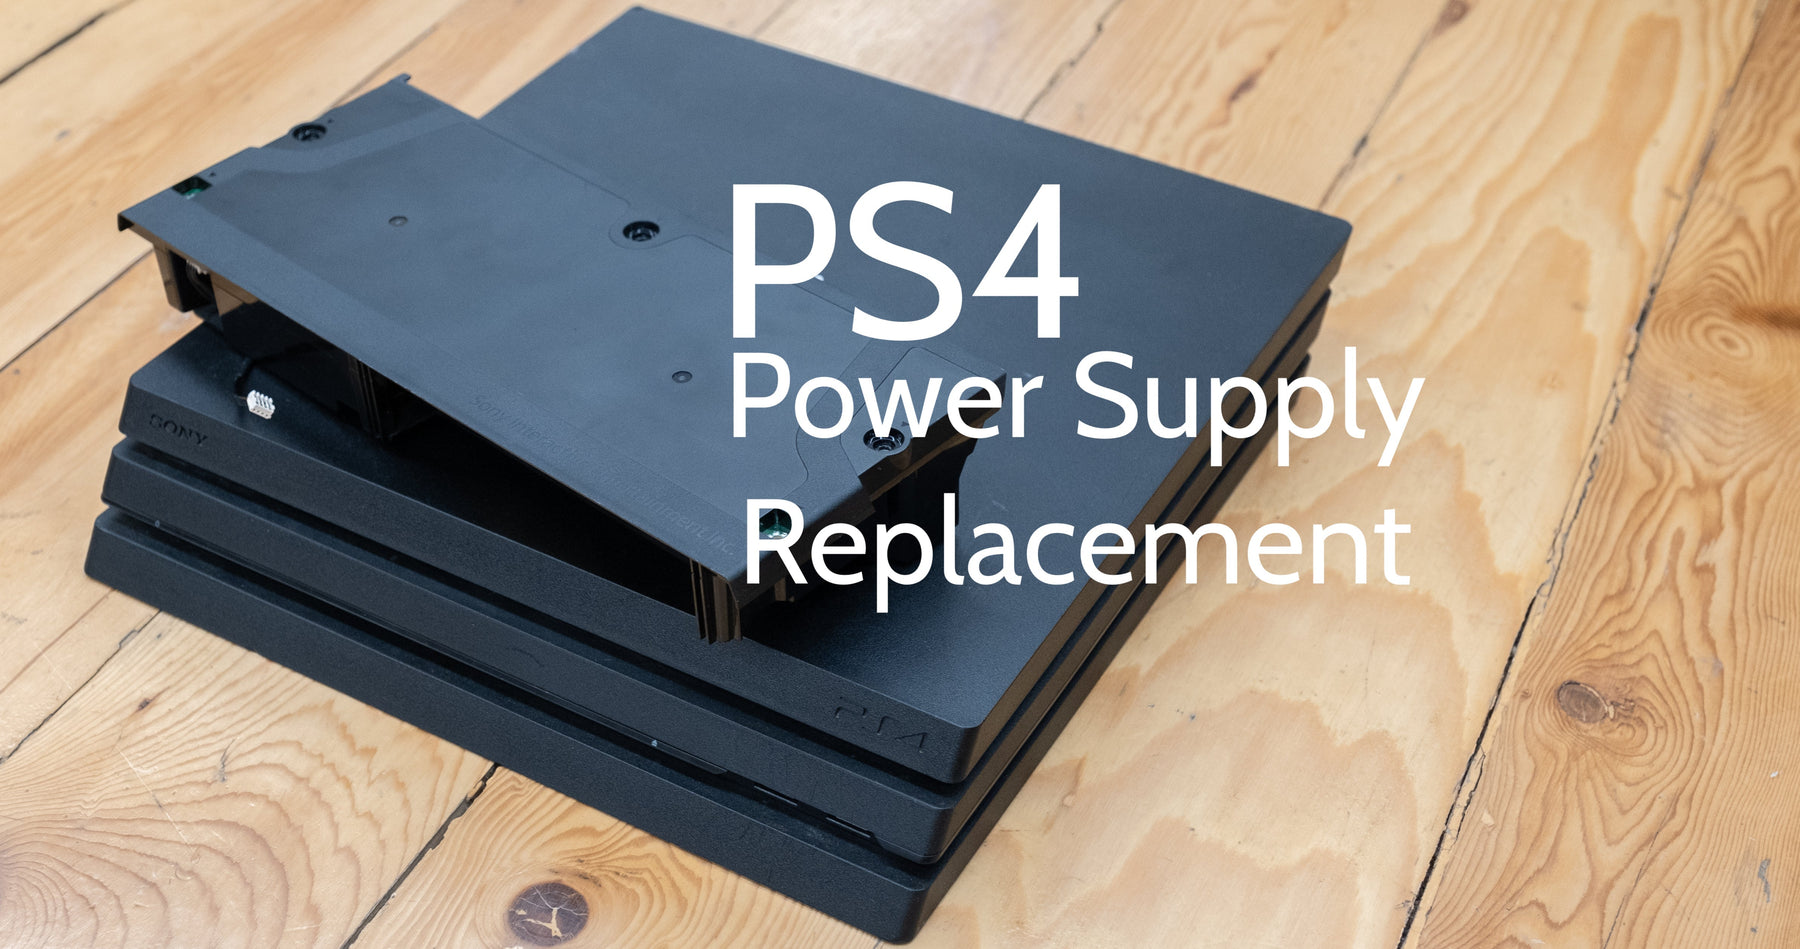
Playstation 4 PS4 Power Supply Replacement | Repair Tutorial
Has your PS4 stopped powering on or does it sometimes turn on and sometimes not turn on? If so, it is likely that its power supply needs to be replaced.
If you would prefer to read a written repair guide, check that out below. Or if the tool cost seems prohibitive for a one time repair and you would prefer that we complete this repair for you, check out our Repair Catalog to see if we offer repair services for this device.
Are you a business? We offer wholesale discounts on our repair services if you are sending numerous units in for repair or want to send us continuing batches of devices for repair on a regular basis. Contact our support team for more info Info@JoesGE.com (This email is only for wholesale inquiries, please contact Support@JoesGE.com for other inquiries).
_____________________________________________
Repair Difficulty: Easy
Time to complete: 30 minutes.
The tools and parts that you will need for this repair:
- There are three different sub-models for the PS4. Look at the first step of this guide to see which one part you need:
- T8 Screwdriver or our Repair Kit.
_____________________________________________
1. Determine which sub-model of PS4 Pro you are working on
Look at the back of the PS4 just above where the power cord plugs in. This repair guide is specific to the most recent PS4, the PS4 Pro which has 3 sub-models: CUH-7015B, CUH-7115B, and CUH-7215B. The repair is the same for each one, but the part is slightly different (and while the parts between sub-models can be interchangeable, it is best to use the parts that correspond with your specific model for the longevity of your console).
We sell the power supply for all of the sub-models:
CUH-7115B/ADP-300ER Power Supply
CUH-7015B/ADP-300CR Power Supply
CUH-7215B/ADP-300FR Power Supply

2. Remove the Exterior Screws
There are 3 screws that you will need to remove from the back of the console. One of them is covered by a plastic cover. Remove the cover by pulling it up and away from the back of the console like so. (It could also be helpful to Watch This Part in the Video).

With the cover removed, you can unscrew the 3 black screws at the back of the console.

3. Remove the Top Case
Start by popping up the left side of the case, then the right side, then the center. It would likely be very helpful to tune into the Video for this part as well.


4. Remove the Power Supply Screws
Remove the two screws that hold the underside of the power supply in place using your T8 Screwdriver.

5. Remove the Heat Shielding Screws
Remove the 5 screws that hold the power supply in place from the top.

6. Remove the Old Power Supply
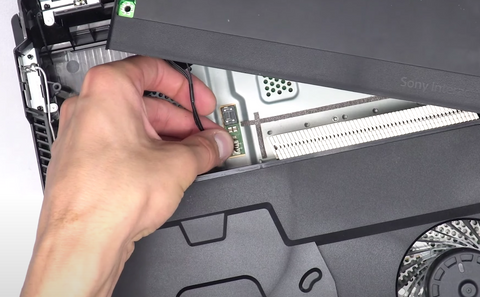
Similarly to removing the top case, start by popping one side of the power supply up with your hands, then the other side. Once again, it might be helpful to see this part in Video Form. **There is a wire attached to the power supply. Once you have the power supply popped out, do not pull it entirely away from the console.


Disconnect the wire that is attached to the main board by gently pulling it straight up and out from the motherboard.

7. Install the New Power Supply
Connect the small wire on the new power supply into its spot on the motherboard.

Set the power supply in place and gently push down until you hear a click as it snaps in place.

Reinstall the metal heat shield onto the bottom of the power supply and install the 5 T8 screws.


Reinstall the 2 screws back into the bottom of the power supply.

8. Reassemble the Unit
Reinstall the bottom plastic piece by setting it on the console a bit towards the front then slide it towards the back of the console while keeping the back part of the plastic elevated from the rest of the console. Once again, it might be helpful to see This Part in the Video.

Once the bottom shell is aligned vertically with the top shell, snap it into place until you hear a click on each corner and center of the back.

Reinstall the 3 black screws into the back of the console.

Reinstall the plastic hard drive slot cover on the back of the console.

Reinstall the top shell similarly to the bottom shell except you slide it forwards from the back of the console. After it is aligned, make sure all of the snap lock connectors are secured around the edge of the shell.

