 >
>
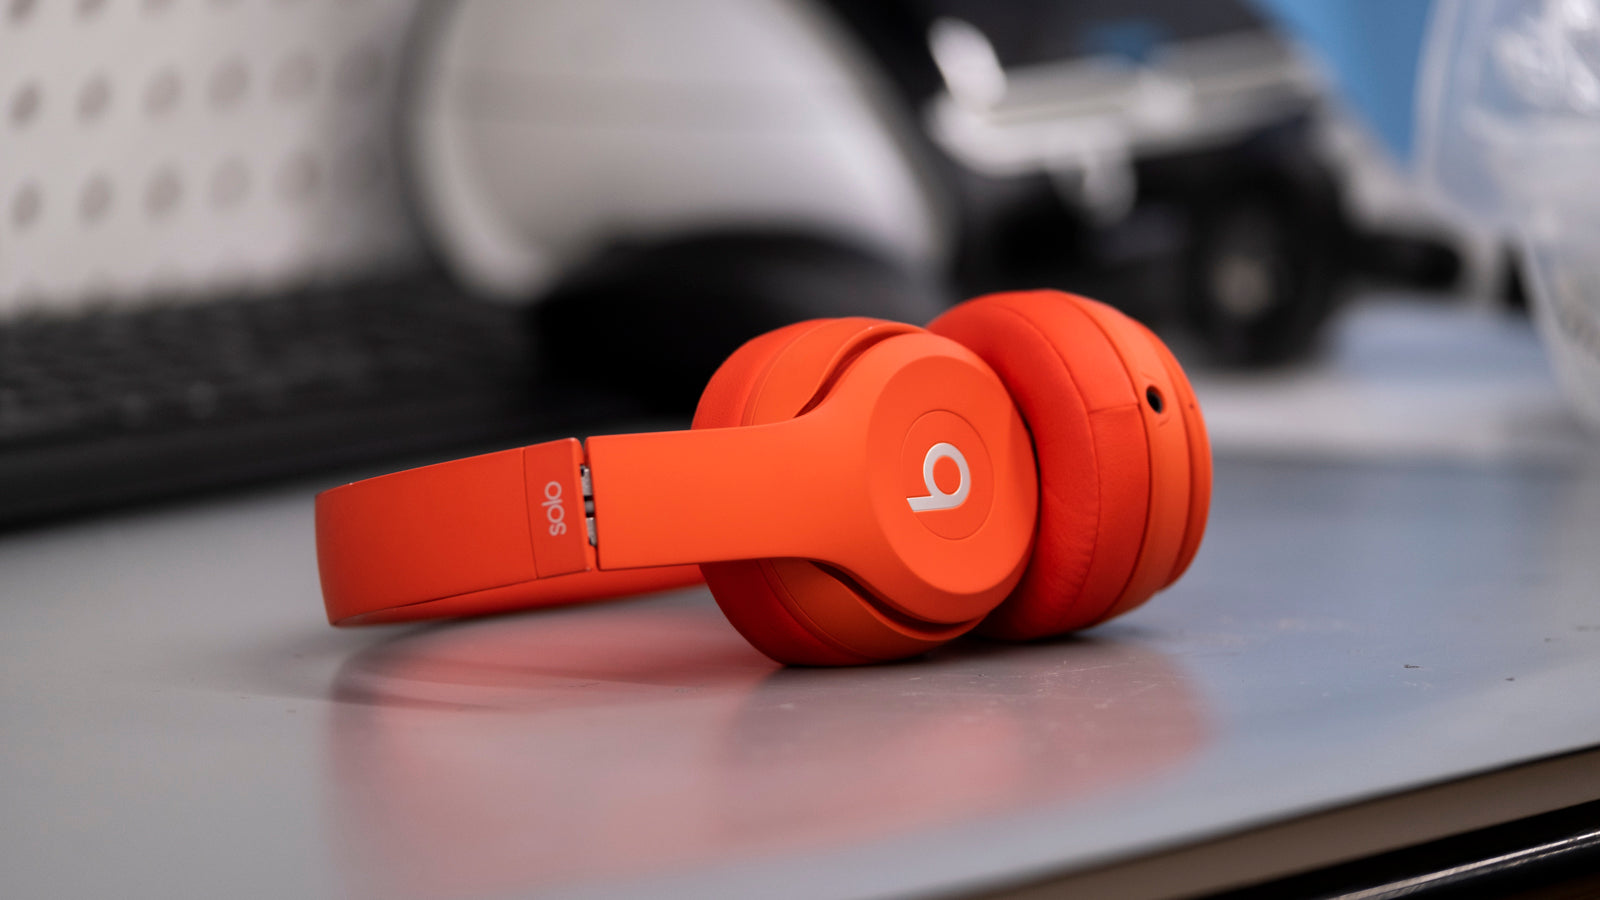
Solo 3's Won't Turn on or One Side Isn't Working? Beats By Dre Solo 3: 5-core Wire Replacement
If your Solo 3's won't turn on, or one side is not producing audio over Bluetooth but still works properly with the AUX cable, this repair guide is for you.
If you would prefer to read a written repair guide, check that out below. Or if the tool cost seems prohibitive for a one time repair and you would prefer that we complete this repair for you, check out our Repair Catalog to see if we offer repair services for this device.
Are you a business? We offer wholesale discounts on our repair services if you are sending numerous units in for repair or want to send us continuing batches of devices for repair on a regular basis. Contact our support team for more info Info@JoesGE.com (This email is only for wholesale inquiries, please contact Support@JoesGE.com for other inquiries).
_____________________________________________
Repair Difficulty: Moderate
Time to complete: 30-90 minutes depending on your confidence with soldering.
The tools and parts that you will need for this repair:
- 5-Core Wire
- Earpad Tape
- Pry Tool (To remove earpad. A butter knife or something similar can work if you are careful).
- Small Phillips Screwdriver (For removing the screws in the speaker housing).
- A soldering iron (around 15 watts is good for small electronics and would be cheaper than purchasing a temperature variable unit).
- Small Flat Edge Screwdriver (For removing the wire clip from its socket on the circuit board).
_____________________________________________
1. Diagnose the issues with your Beats
Make sure that the headphones charge when you plug them in and follow the steps in red below to make sure that, if you are just experiencing one side not working but your headphones power on still, that you are replacing the correct part.
***This article shows one way to fix the issue of one side of your Solo 3's not producing sound. There is more than one issue that could cause this problem. It could be a faulty speaker or a faulty internal wire.
You can test to see which issue you need to fix by removing both speakers from your headphones and swapping the sides, if you put the speaker from the non-working side onto the side that works and the speaker works fine, it is the wiring that is the problem, if the speaker does not work, you just need a new speaker. This article explains how to replace the wiring and we have a video Here that shows how to replace the speaker.
2. Remove the left earpad on the Beats
Push your pry tool in between the bottom of the leather earpad and the plastic of the headphones. Then begin to pry up slowly. It will take some effort, but if you pry around the earpad it will slowly come off.

3. Remove the left speaker
Using your Phillips Screwdriver, remove the 3 screws that are holding the speaker housing in place. Make sure to keep them in a safe spot so that they do not get lost. Be careful when removing the speaker housing as there are two fragile wires attached to it that you do not want to rip.
4. Loosen the wires from their place
The two wires that you will see are held in place on the inside of the headphones by glue. Use your soldering iron to heat up the glue and loosen the wires. Be careful to not burn the wires with your soldering iron.

Once you have loosened the wires, desolder them from the PCB (Printed Circuit Board) on the speaker housing.
5. Pry apart the inside panel and outside panel
This is where having a very thin pry tool will come in handy. You need to squeeze the pry tool in between the two panels near the bottom edge and pop open the clasps that are holding the two panels together.

6. Pull the wire out of its place
Remove the tape that is holding the two wires together (We use our soldering iron to melt one side of it). Carefully separate the big wire from two smaller wires then, using your Small Flat Edge Screwdriver pull the clip on the big wire out from its socket on the PCB by using the small ledges on each side of the clip. (Hint: Make sure you are aware of the orientation of the wire when you unplug it so that you can plug the new wire in, correctly.)

7. Put the new wire in place
Gently plug the new 5-Core Wire into the socket on the PCB.
8. Make the hole in the speaker housing bigger
Using your Small Phillips Screwdriver widen the hole that the wire was running through. This alleviates any excess wear in the wire once you have the headphones put back together.
9. Run the new wire through the speaker housing
Twirl the two fine wires with the new wire that you installed so that you can easily slide all of the wires back through the hole that you just enlarged.
10. Solder the speaker back on with the new wire
Solder the wires back on to the AUX PCB following the picture below. With the new 5-core wire that you installed, starting closest to the center of the board you want to solder the red wire, then the blue wire, then the wire that has black shrink wrap on it, then the green wire, and finally the copper-colored wire. On the other side of the AUX port you want to solder the two standalone wires starting with the red wire, then the blue wire.

11. Test the headphones and make sure they work
At this point, everything should be connected and the headphones should now power on and be ready to connect to your device. Try pairing them with Bluetooth and listen to something to make sure that they work properly.
12. Put the headphones back together
Re-assemble the inside and outside panel by aligning the outside panel with the hinge and ensuring that the wire is in its proper place.
(You can keep the headphones powered on and playing music during the reassembly so that you know they continue to work.)
Then line up the inside panel with the outside panel and snap them together by applying pressure. Start near the top of the panels where the folding hinge is and work your way down to the bottom of the panel. Once you have the first few snaps connected, ensure that the length adjustment is smooth and that the wires are not causing it to be hard to adjust.
Finish snapping the panels together, then tuck the thin wires behind the AUX port on the speaker housing.

Then continue to run them along the edge of the speaker as they were when you opened the headphones.

Then carefully put the speaker housing back on to the headphones and insert the 3 screws.
Remove the old tape residue from the plastic ring of your old earpad and apply new tape (Make sure to align the holes in the tape, with the holes in the plastic of the earpad. Then, align the earpad with the seam facing downward and stick it to the speaker housing.
13. Get back to jamming out 🎶