 >
>
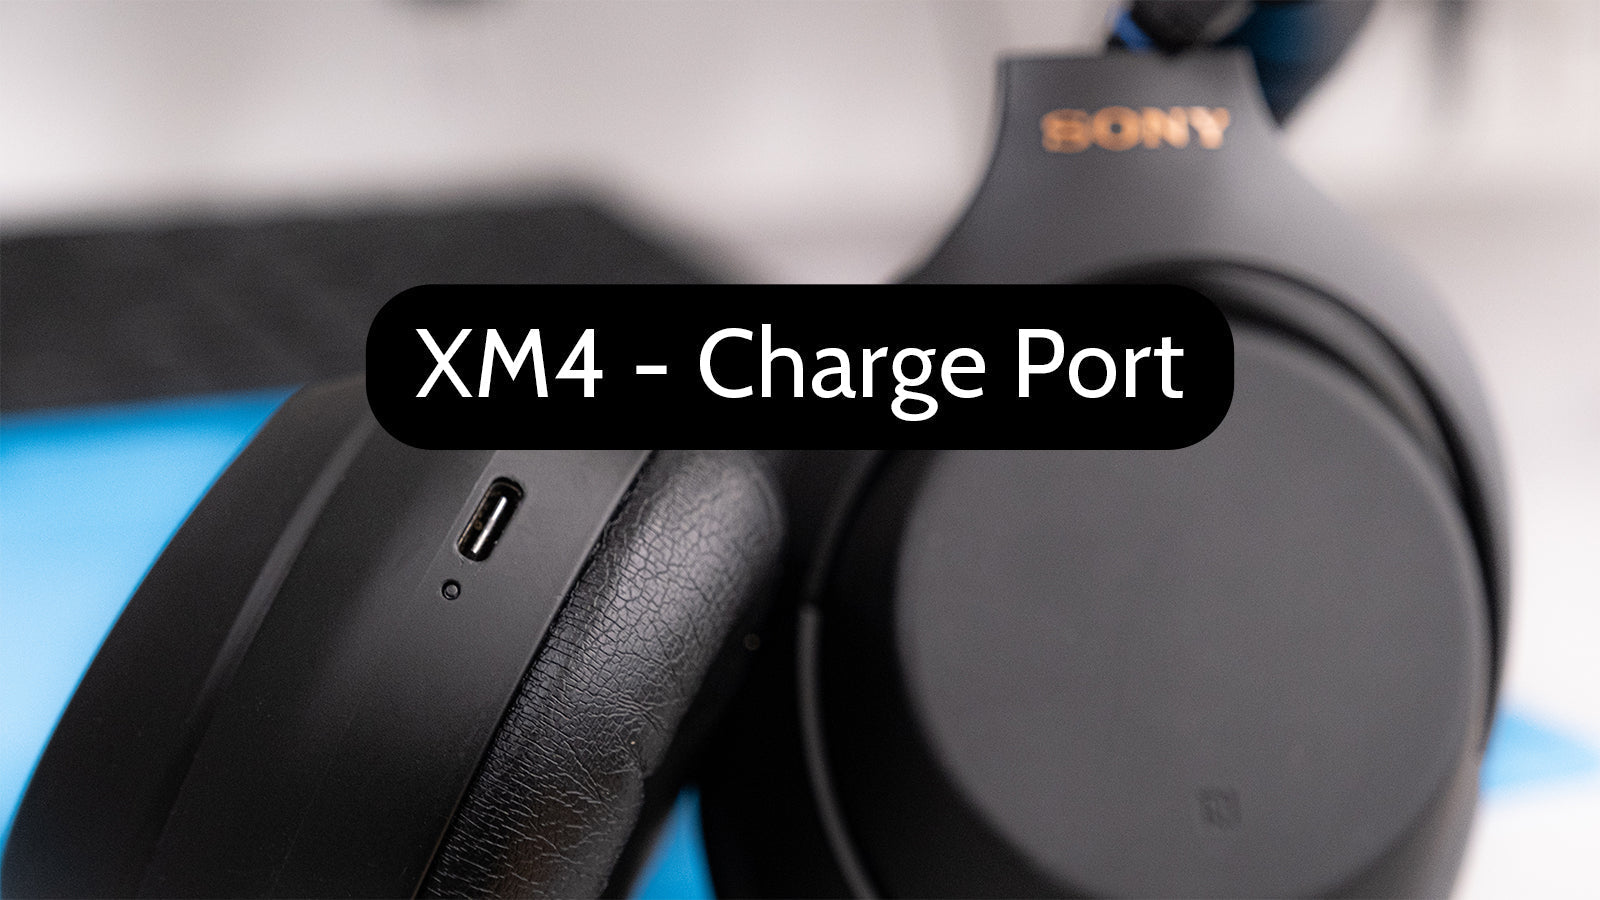
Sony WH-1000XM4 Charge Port Replacement Tutorial
Do your XM4s no longer charge or only charge if you hold the cord at a specific angle? We're here to help you fix that!
If you would prefer to read a written repair guide, check that out below. Or if the tool cost seems prohibitive for a one time repair and you would prefer that we complete this repair for you, check out our Repair Catalog to see if we offer repair services for this device.
Are you a business? We offer wholesale discounts on our repair services if you are sending numerous units in for repair or want to send us continuing batches of devices for repair on a regular basis. Contact our support team for more info Info@JoesGE.com (This email is only for wholesale inquiries, please contact Support@JoesGE.com for other inquiries).
_____________________________________________
Repair Difficulty: Moderate
Time to complete: 60-90 minutes
The tools and parts that you will need for this repair:
- A New Charge Port PCB
- Strong Pry Tool (a guitar pick, or the dull side of a butter knife can also do the trick. Just be careful to not scratch the inside of the headphones)
- Repair Kit (Contains tweezers, and Phillips screwdriver)
- A Small Phillips Screwdriver
- Some Precision Tweezers
- Anti-Static Parts Organizer Mat
_____________________________________________
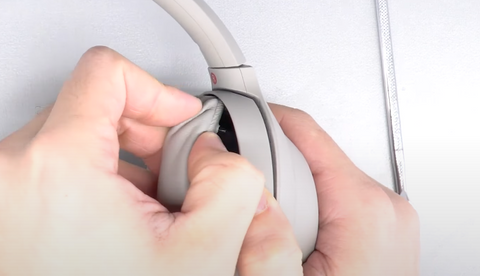
1. Remove the Ear Pad
Insert your pry tool between the ear pad and the headphones just above or below from the center of the side of the ear pad. There is a clip in the center that holds the ear pad in place. Prying directly on the clip could break it and keep your ear pad from attaching properly.


Once you lift the ear pad up on one side, you can use your hand to pull the ear pad away from the headphones. There are a few more clips so just pull and wiggle at each clip to unhook it.
Lastly, set the ear pad to the side and remove the foam from the center of the speaker and set it with the ear pad.

2. Remove the Speaker Housing
Start by removing the 13 screws that hold the speaker housing in its place. You can place the screws inside of the foam piece to make sure they don't get lost :) It's also important to note that the silver screws are longer than the black screws and you need to make sure that you reinsert them into their proper place when assembling the headphones.


Using your tweezers, remove the white wire from its place holders.

Insert your pry tool between the black plastic speaker housing and the shell of the headphones and pry the speaker housing up. You may need to try lifting it up from a few different places before you hear the click of the snap connections coming apart.


When the housing is loose, position it to the side of the speaker cup being careful of the two wires that are still connected on the underside of the speaker housing.


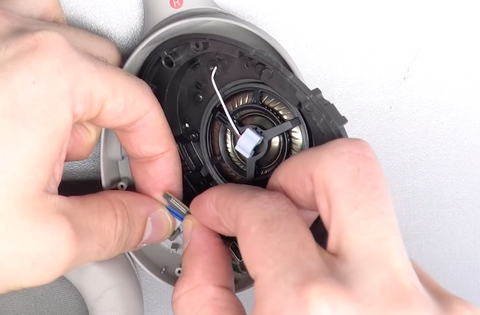
3. Disconnect The Old Charge Port
First, use your tweezers to remove the clear plastic piece from the edge of the charger port board.

Remove the screw that holds the charger port in its place.

Stick your tweezers into the screw hole and push against the charge port pcb to slide the charge port out of its place.

Pull the charge port PCB straight up and away from the white ribbon cable that it is attached to. The ribbon cable is not locked into the board so with some gentle wiggling, it should come out of its connection. Just make sure that you pull the ribbon cable straight out of its connection so that it is not wrapped around the edge of the PCB.

4. Install The New Charge Port
Slide the ribbon cable into the connector on the new PCB. The dark line in the blue tip of the ribbon cable should disappear inside of the connector.

Place the PCB back into its spot by first sliding the charge port into its hole in the shell.


Re-insert the screw back into its spot holding the PCB in place.

Place the clear plastic light transferring piece back onto the charge port. Follow the same procedure as the charge port by sliding the pointy end of the clear plastic into its hole in the shell of the headphones using your tweezers.

5. Reassemble The Headphones
Place the speaker housing back into its place. Make sure all of the holes for the screws are lined up then reinsert the 13 screws, making sure that the silver screws go in the spots labeled with red circles below. There are also small arrows in the speaker housing pointing to the 4 holes where the silver screws go.


Put the white wire back into its place holders using your fingers or tweezers. This would also be a great time to test the charge port to make sure that it charges your headphones.

Place the foam back into its place lining up the flat bottom of the inside of the speaker cup with the flat part of the foam.

Line up the clips with the holes in the speaker cup. The cutout in the top right corner of the ear pad goes to the top left of the speaker cup. Press down on the edges of the ear pads to connect the snap connectors.


6. Get back to enjoying your gear 🤓